- A+

Introduction
Downloading and installing the driver for your Epson printer is necessary for the printer to function properly. In this article, we will guide you through the process of finding and downloading the appropriate driver for your Epson printer.
Step 1: Determine the Model of Your Epson Printer
The first step is to determine the model of your Epson printer. You can usually find the model number on the front or top of the printer. If you are unsure of the model number, you can check the documentation that came with the printer or visit the Epson website to find a list of their printer models.
Step 2: Visit the Epson Website
Once you have determined the model of your Epson printer, visit the Epson website. The website URL is www.epson.com. Once you are on the website, click on “Support” on the top menu bar. Next, click on “Printers” under the “Product Category” section. Then, select your printer model from the list of available models.
Step 3: Download and Install the Driver
After selecting your Epson printer model, scroll down to the “Drivers and Downloads” section. Here, you will see a list of available drivers and software for your printer. Click on the “Download” button next to the driver that is appropriate for your operating system. Once the download is complete, open the downloaded file and follow the on-screen instructions to install the driver.
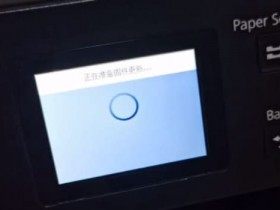
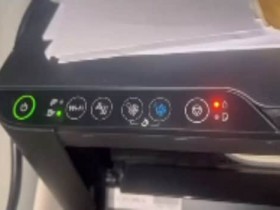
Step 4: Test the Printer
After installing the driver, restart your computer and connect your printer to the computer. Once the printer is connected, turn it on and print a test page to make sure that the printer is working properly.
Conclusion
Downloading and installing the driver for your Epson printer may seem like a difficult task, but it is actually quite simple. By following the steps outlined in this article, you can easily install the driver and start using your Epson printer in no time.